Recipe for a Roadster
- A roadster should be light
- A roadster should be cheap
- A roadster should be simple
- A roadster should be a convertible
- A roadster should go around corners
- A roadster should have 2 seats (maybe 3)
- A roadster should have a long swooping bonnet
2001 AP1 Honda S2000 Build
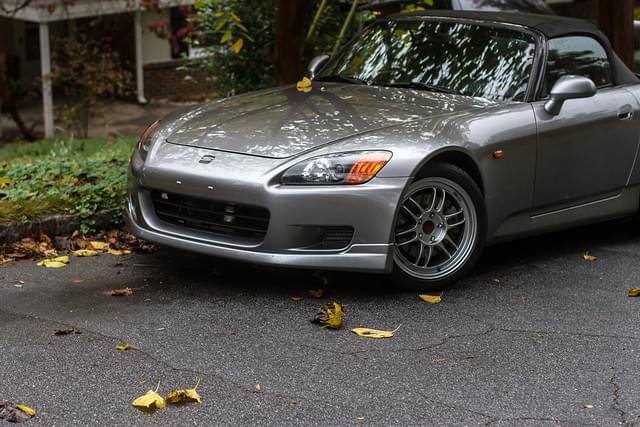
Seven months ago I purchased a 2001 Honda S2000 with the goal of building a car that would be a good mix of daily run-around and race car. This post will serve as my build thread as I continue to make modifications to the car. When I first bought it it was mostly stock with a few exceptions:
- AP2 soft top with glass rear window
- AP2 exhaust system
- AP1 OEM front lip
- Original Ricks front badge
- Alpine stereo and head unit
- Skunk 2 shift knob
Almost immediately (1 week) after buying the car I purchased some new tires for it:
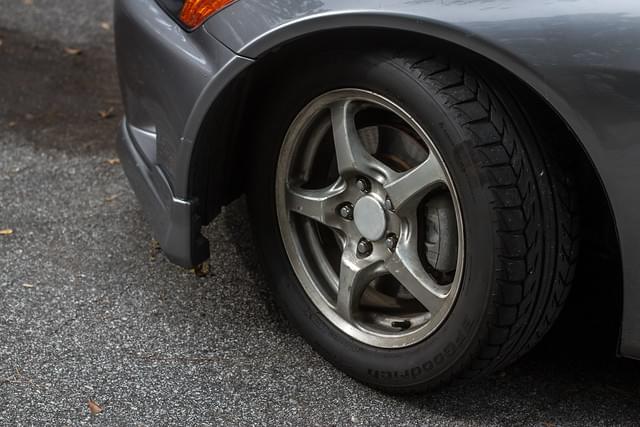
BFG g-Force Sport COMP-2’s in P205/55ZR16 and P225/50ZR16 (though this wasn’t exactly a planned upgrade; I parked on a nail). While I was at it I also got an alignment and upped the camber to -1.0° on the fronts and -1.4° on the rears.
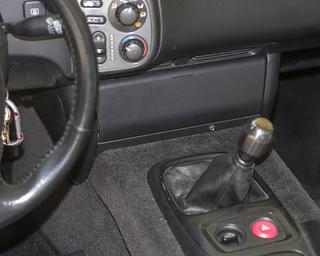
My next upgrade was a minor one to the audio system; the after market alpine head unit did not contain a 3.5mm port, but supported input via a proprietary port on the back of the stereo. I purchased an adapter and soldered on a 3.5mm jack which I installed just below the stereo door:
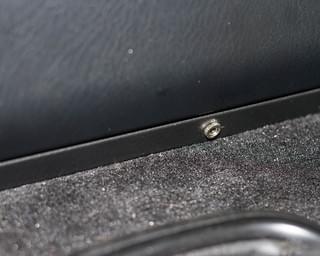
My mechanic then recommended that I install an Injen SP1305 CAI:
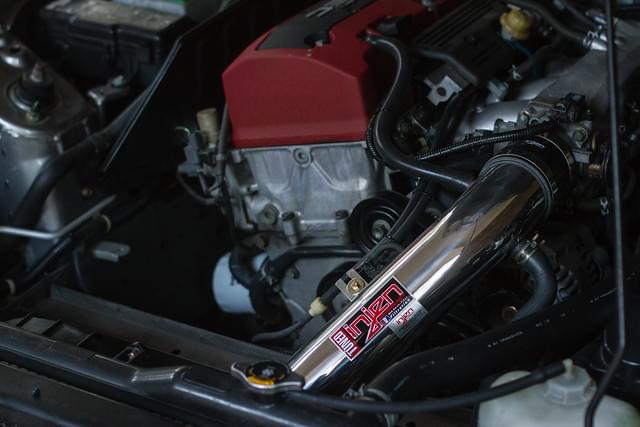
This provides about 7–10 extra horse power at the road (I haven’t had a chance to measure the output on my actual car), and makes the car feel a lot better—particularly at lower RPMs.
To add speed, add lightness.
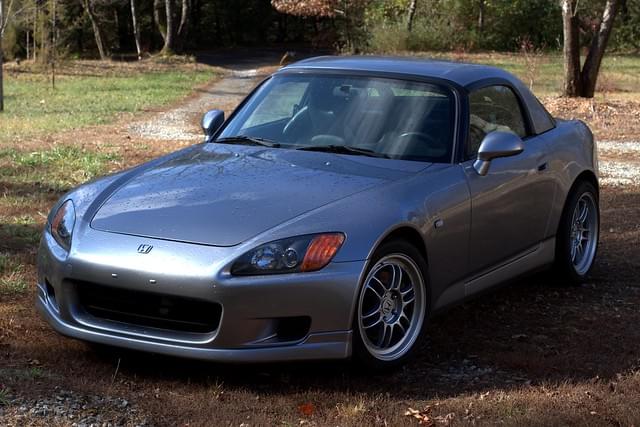
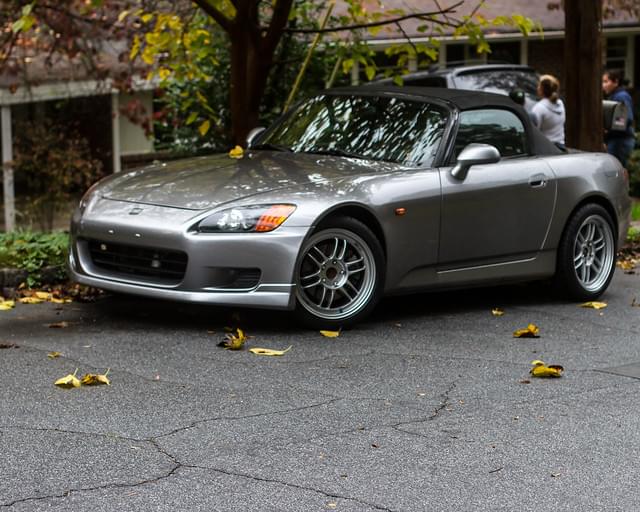
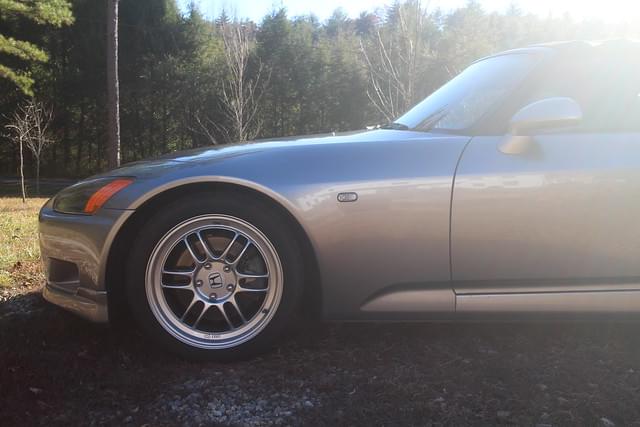
Going back to wheels and tires, I then added some lightness with 17" Enkei RPF1 wheels (17×7.5+48 and 17×9+45, if I remember correctly) and changed the tire size to P215/45ZR17 and P245/40ZR17:
I then turned to Craigslist and purchased a used Password:JDM front strut tower bar and an unknown (possibly Cusco) rear sway bar as well as a custom made dry carbon fiber radiator cooling plate.
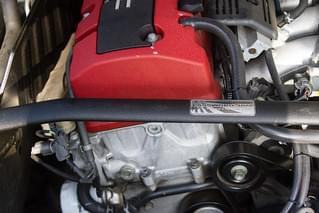
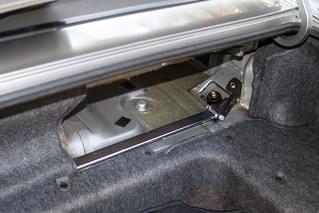
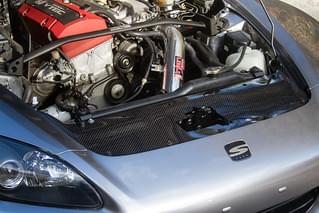
The front strut bar fit nicely over the intake with plenty of space to spare. It did not come with the bracket that Password:JDM sells for rerouting the cruise control actuator cable, but it was easy enough to remove it and stick it through the holes in the bar (and then re-adjust the cruise control), so I’m not sure what the point of purchasing the adapter is. It also would have fit over or under the bar well enough, but would have been a bit snug.
The carbon fiber radiator cooling plate was custom built by a friend of the guy that sold it to me. It fit nicely but required a bit of fiddling with the hood latch to make the hood open and close smoothly. It also required that I install new (flat) radiator stays as the CF was not shaped to accommodate the OEM ones.
04 December 2013
I went in to GT East to get a wheel bearing replaced and decided to go ahead and have the rears aligned as well since I was going to have to do the fronts anyways. However, instead of increasing my camber as I had previously planned I ended up decreasing it to -1.5° all around. I haven’t had a chance to do any hard cornering yet to test it out, but hopefully this will let me get the back end out a little easier and prevent understeer.
04 January 2014
I finally got around to installing a front right inner fender well liner today. Someone who has worked on this car with a previous owner did a terrible job; while the outside of the car looks perfectly clean, under the hood there are lots of stripped bolts (which I’m slowly finding and re-tapping), missing plastic tabs, bent fasteners, etc. Luckily most of them aren’t noticeable and don’t cause any problems (other than the occasional stripped screw). When they do cause a problem it’s normally in the form of a rattle, which is annoying, but also quite easy to find (I had my mechanic track down one that I couldn’t find a few weeks ago; he couldn’t find it either, but replaced a few tabs and apparently fixed the offending part by luck).
February–March 2014
On 2014-03-08 I will be participating in the Atlanta Region SCCA SOLO Novice School at the Manheim Drive Center in Stockbridge Georgia. To prepare I wanted to get a few things done on my car. I was in a minor fender bender a few weeks ago which damaged my bumper, so I bought a new bumper and had it sprayed by the guys over at Magnum Collision Repair Center in Marietta. The color match isn’t the best (probably my fault as I left them a sample but not the whole car for doing the match), but the service was so good that I’ll probably start using them for all my bodywork in the future. After sticking the front bumper on (which also resulted in me having a stock Honda badge now instead of the Ricks badge that I had on before) I decided to get a few other minor things done (headlights adjusted, inner fenders properly secured, rusty bolts replaced, etc.) and put on the AP2 shift knob that I’ve been testing for a few months. I then went for an alignment and changed the settings on my front wheels yet again. I’m now running: -1.9/-1.8° camber on the fronts with 3.7°/3.5° caster and 0 toe. The front right and front left differ slightly because of a problem that made it difficult to adjust. I left the rears alone because they were close enough to what I wanted not to be worth paying for (-1.4° camber and 0.09in/0.08in toe).
Note: Almost immediately after getting the front painted at Magnum the paint started peeling and Magnum refused to honor the warranty and claimed I must have hit something (I didn’t). Needless to say, I won’t be using Magnum again.
03 March 2014
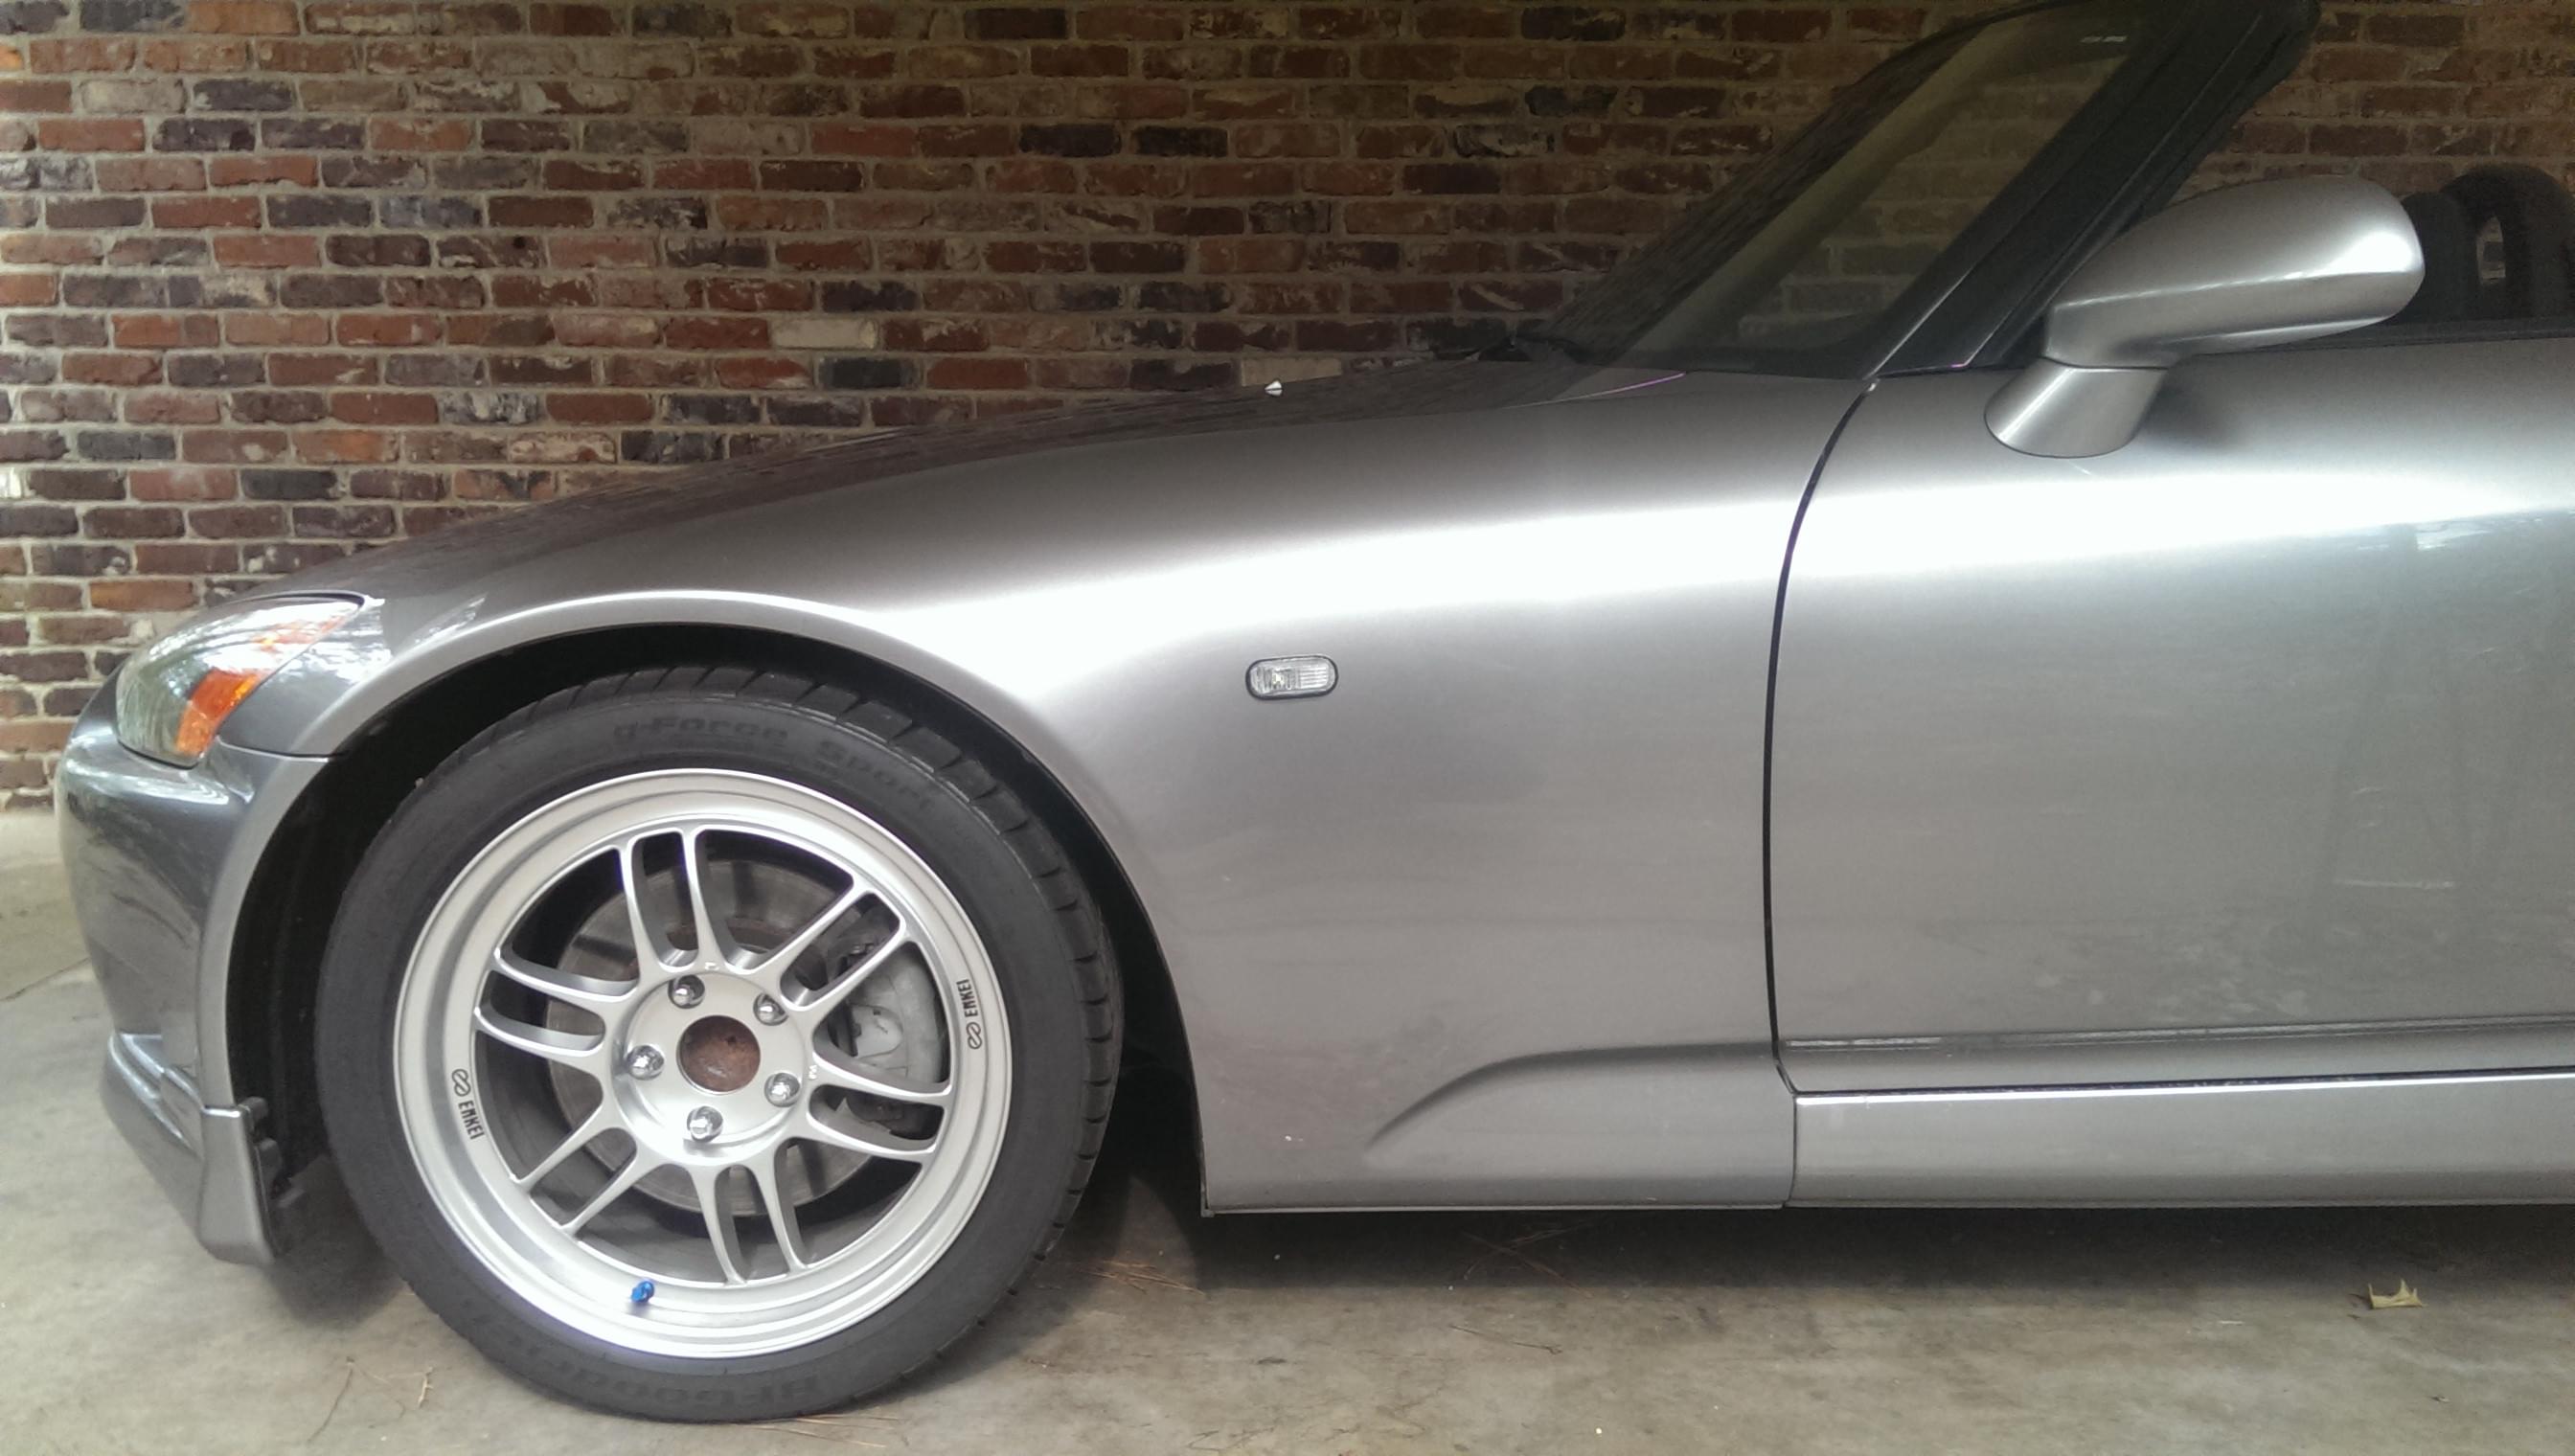
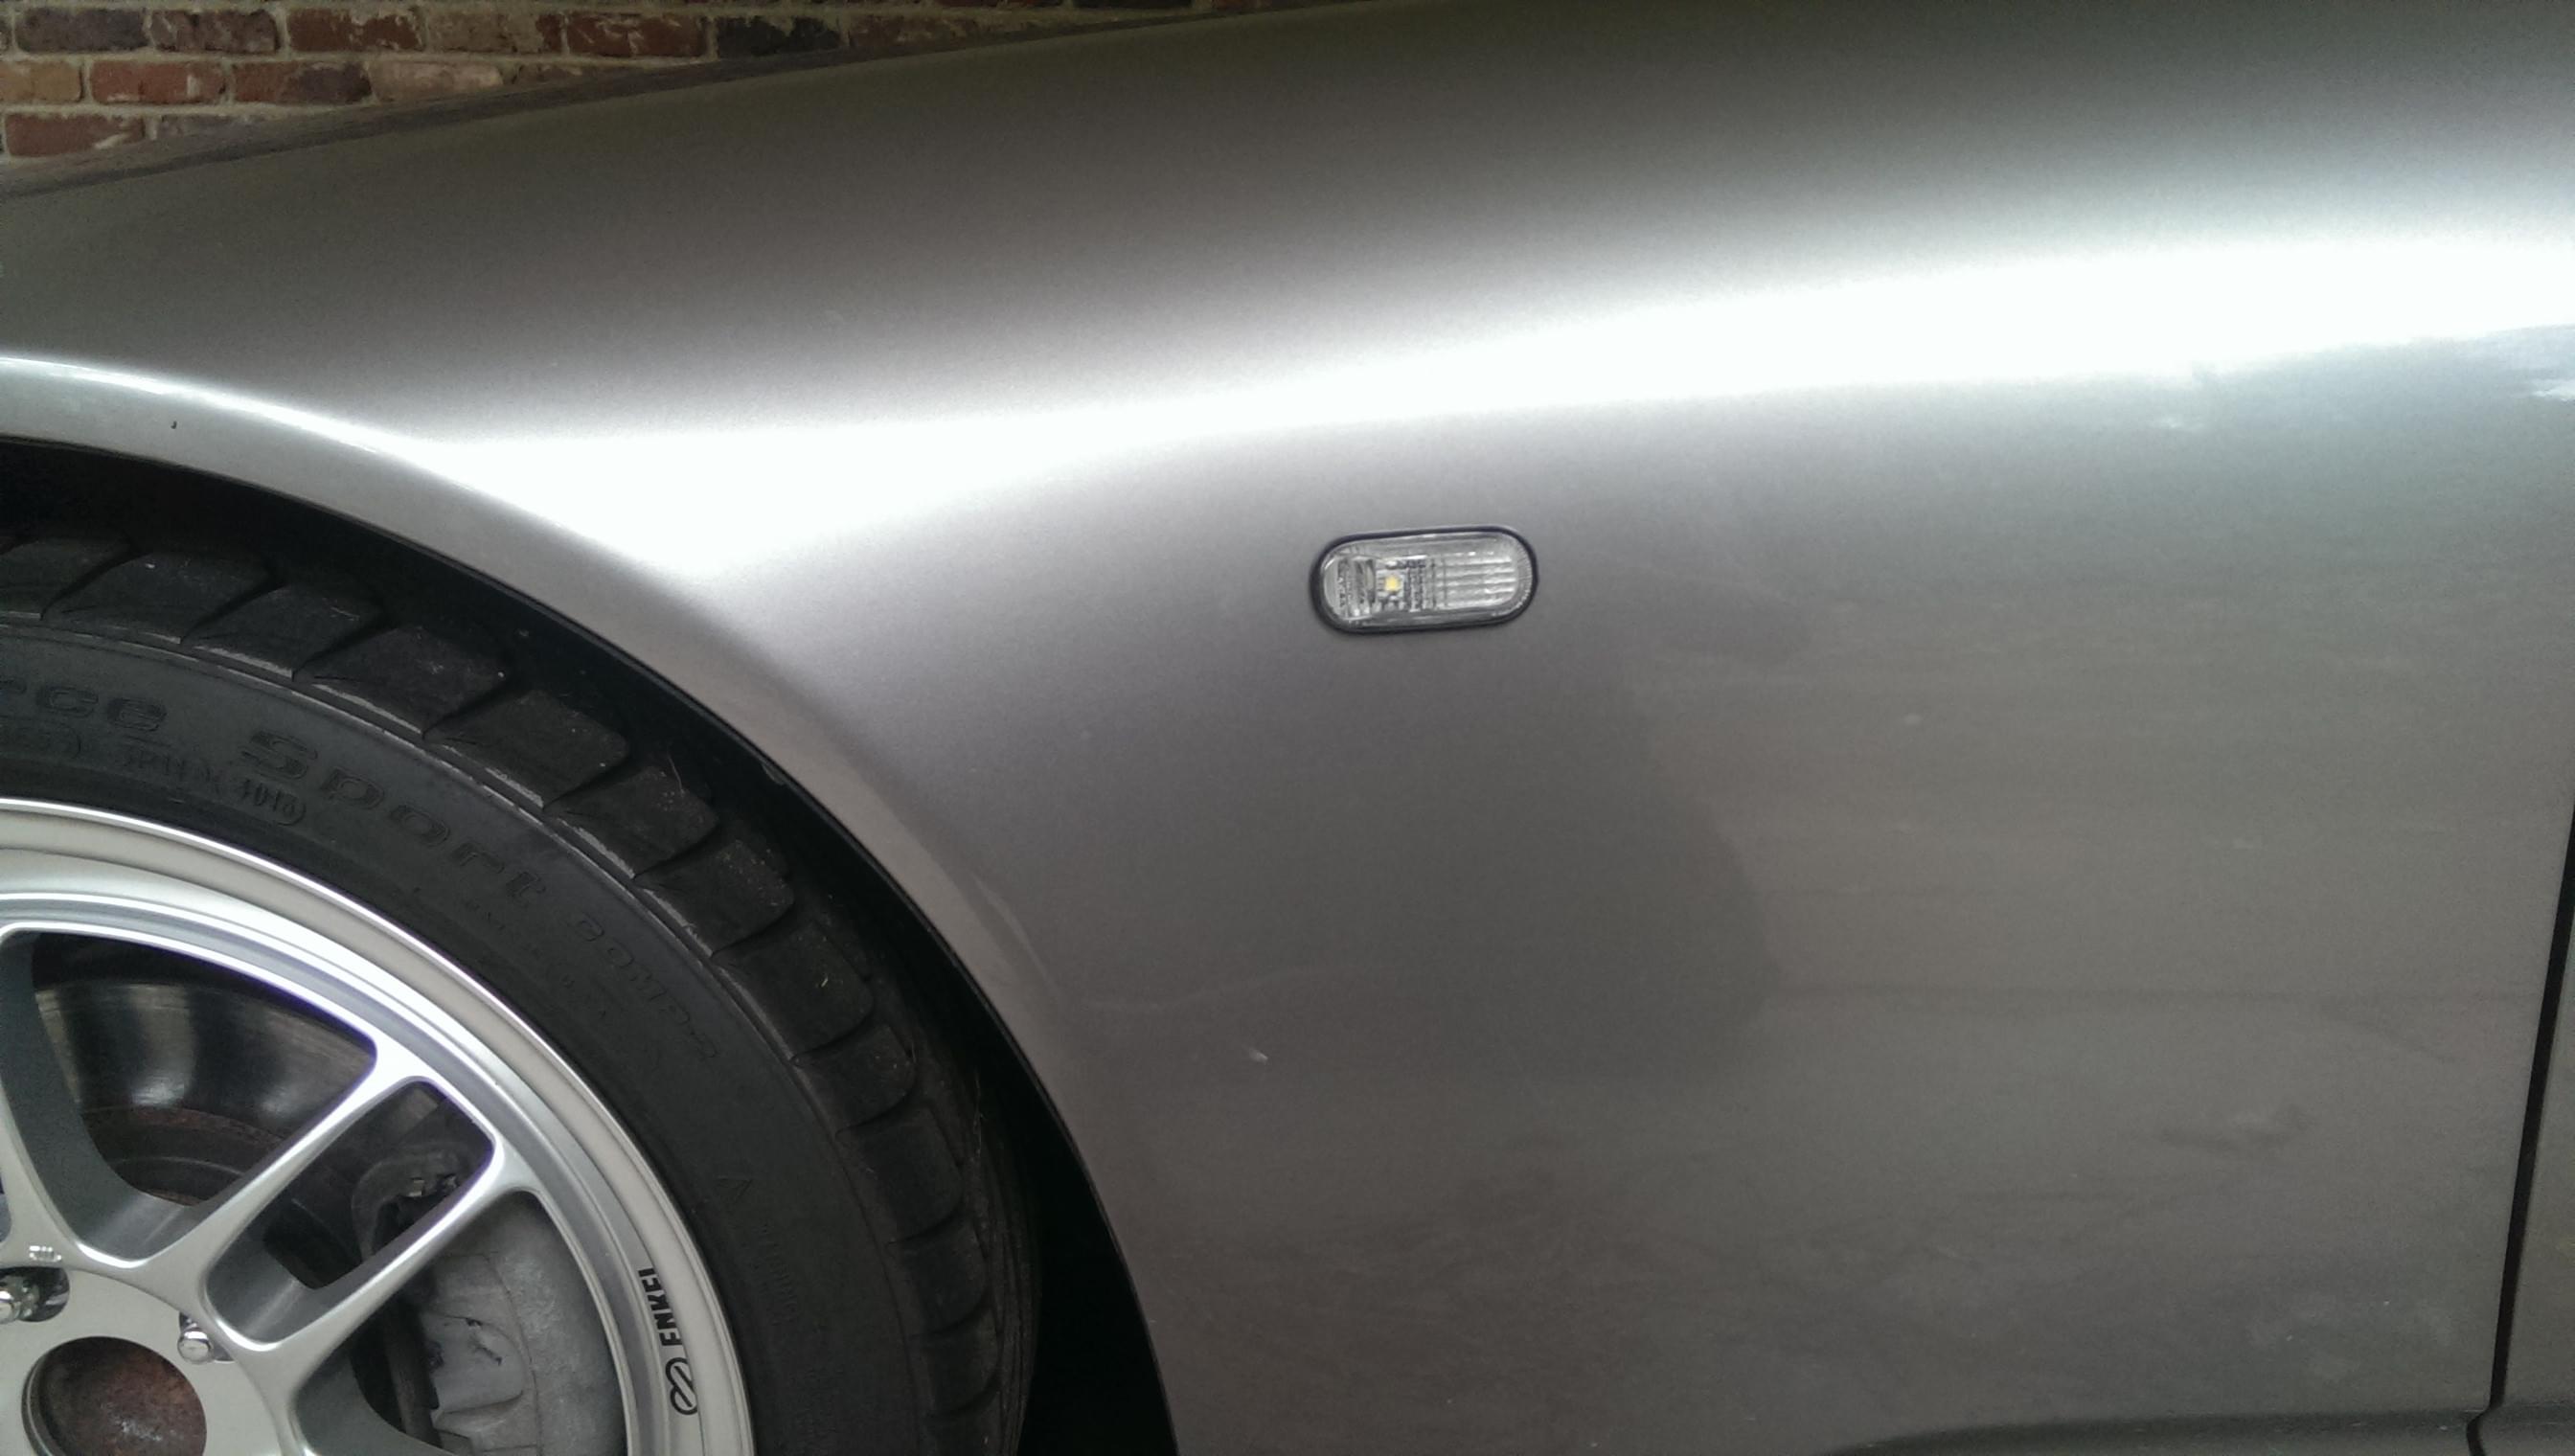
Today I took delivery of a set of cleared side markers from the CR version of the car and installed them.
12 November 2014
At long last, I finally installed Honda center caps on each of my wheels. They didn’t quite fit properly over the axel on the rear wheels, so I’ll have to dremel the back of them out a bit.
I also did a bit of work on the stereo; splicing in a Modifry DCI and a bluetooth adapter means that I not only have dash controls, but I can also make calls and don’t have to plug in to listen to music from my phone.
16 December 2014
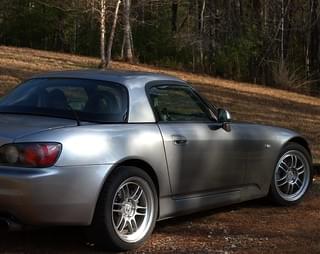
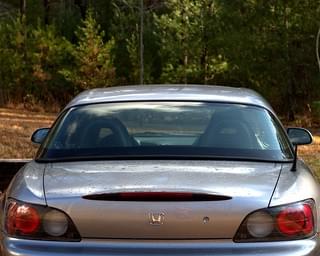
I’ve treated myself to an OEM hard top; it may not be as easy to take down as the soft top, but it looks damn good.
06 February 2015
A few days ago, I finally removed the worn-down strikers which had secured the soft top in place and replaced them with the newer version designed for the hard top. This keeps both the hard top and the soft top more secure, and greatly reduces wind noise and rattling.
I also—today—added a new stereo (an Alpine CDE-HD149BT — and built a circuit to provide more power (for faster phone charging) to the USB port which I previously installed (but don’t appear to have documented). I’m loving the stereo, but I do wish it supported a more modern version of the Bluetooth spec (it only supports 2.1—this is still better than the previous Alpine adapter I had which was only 2.0).
The final entry
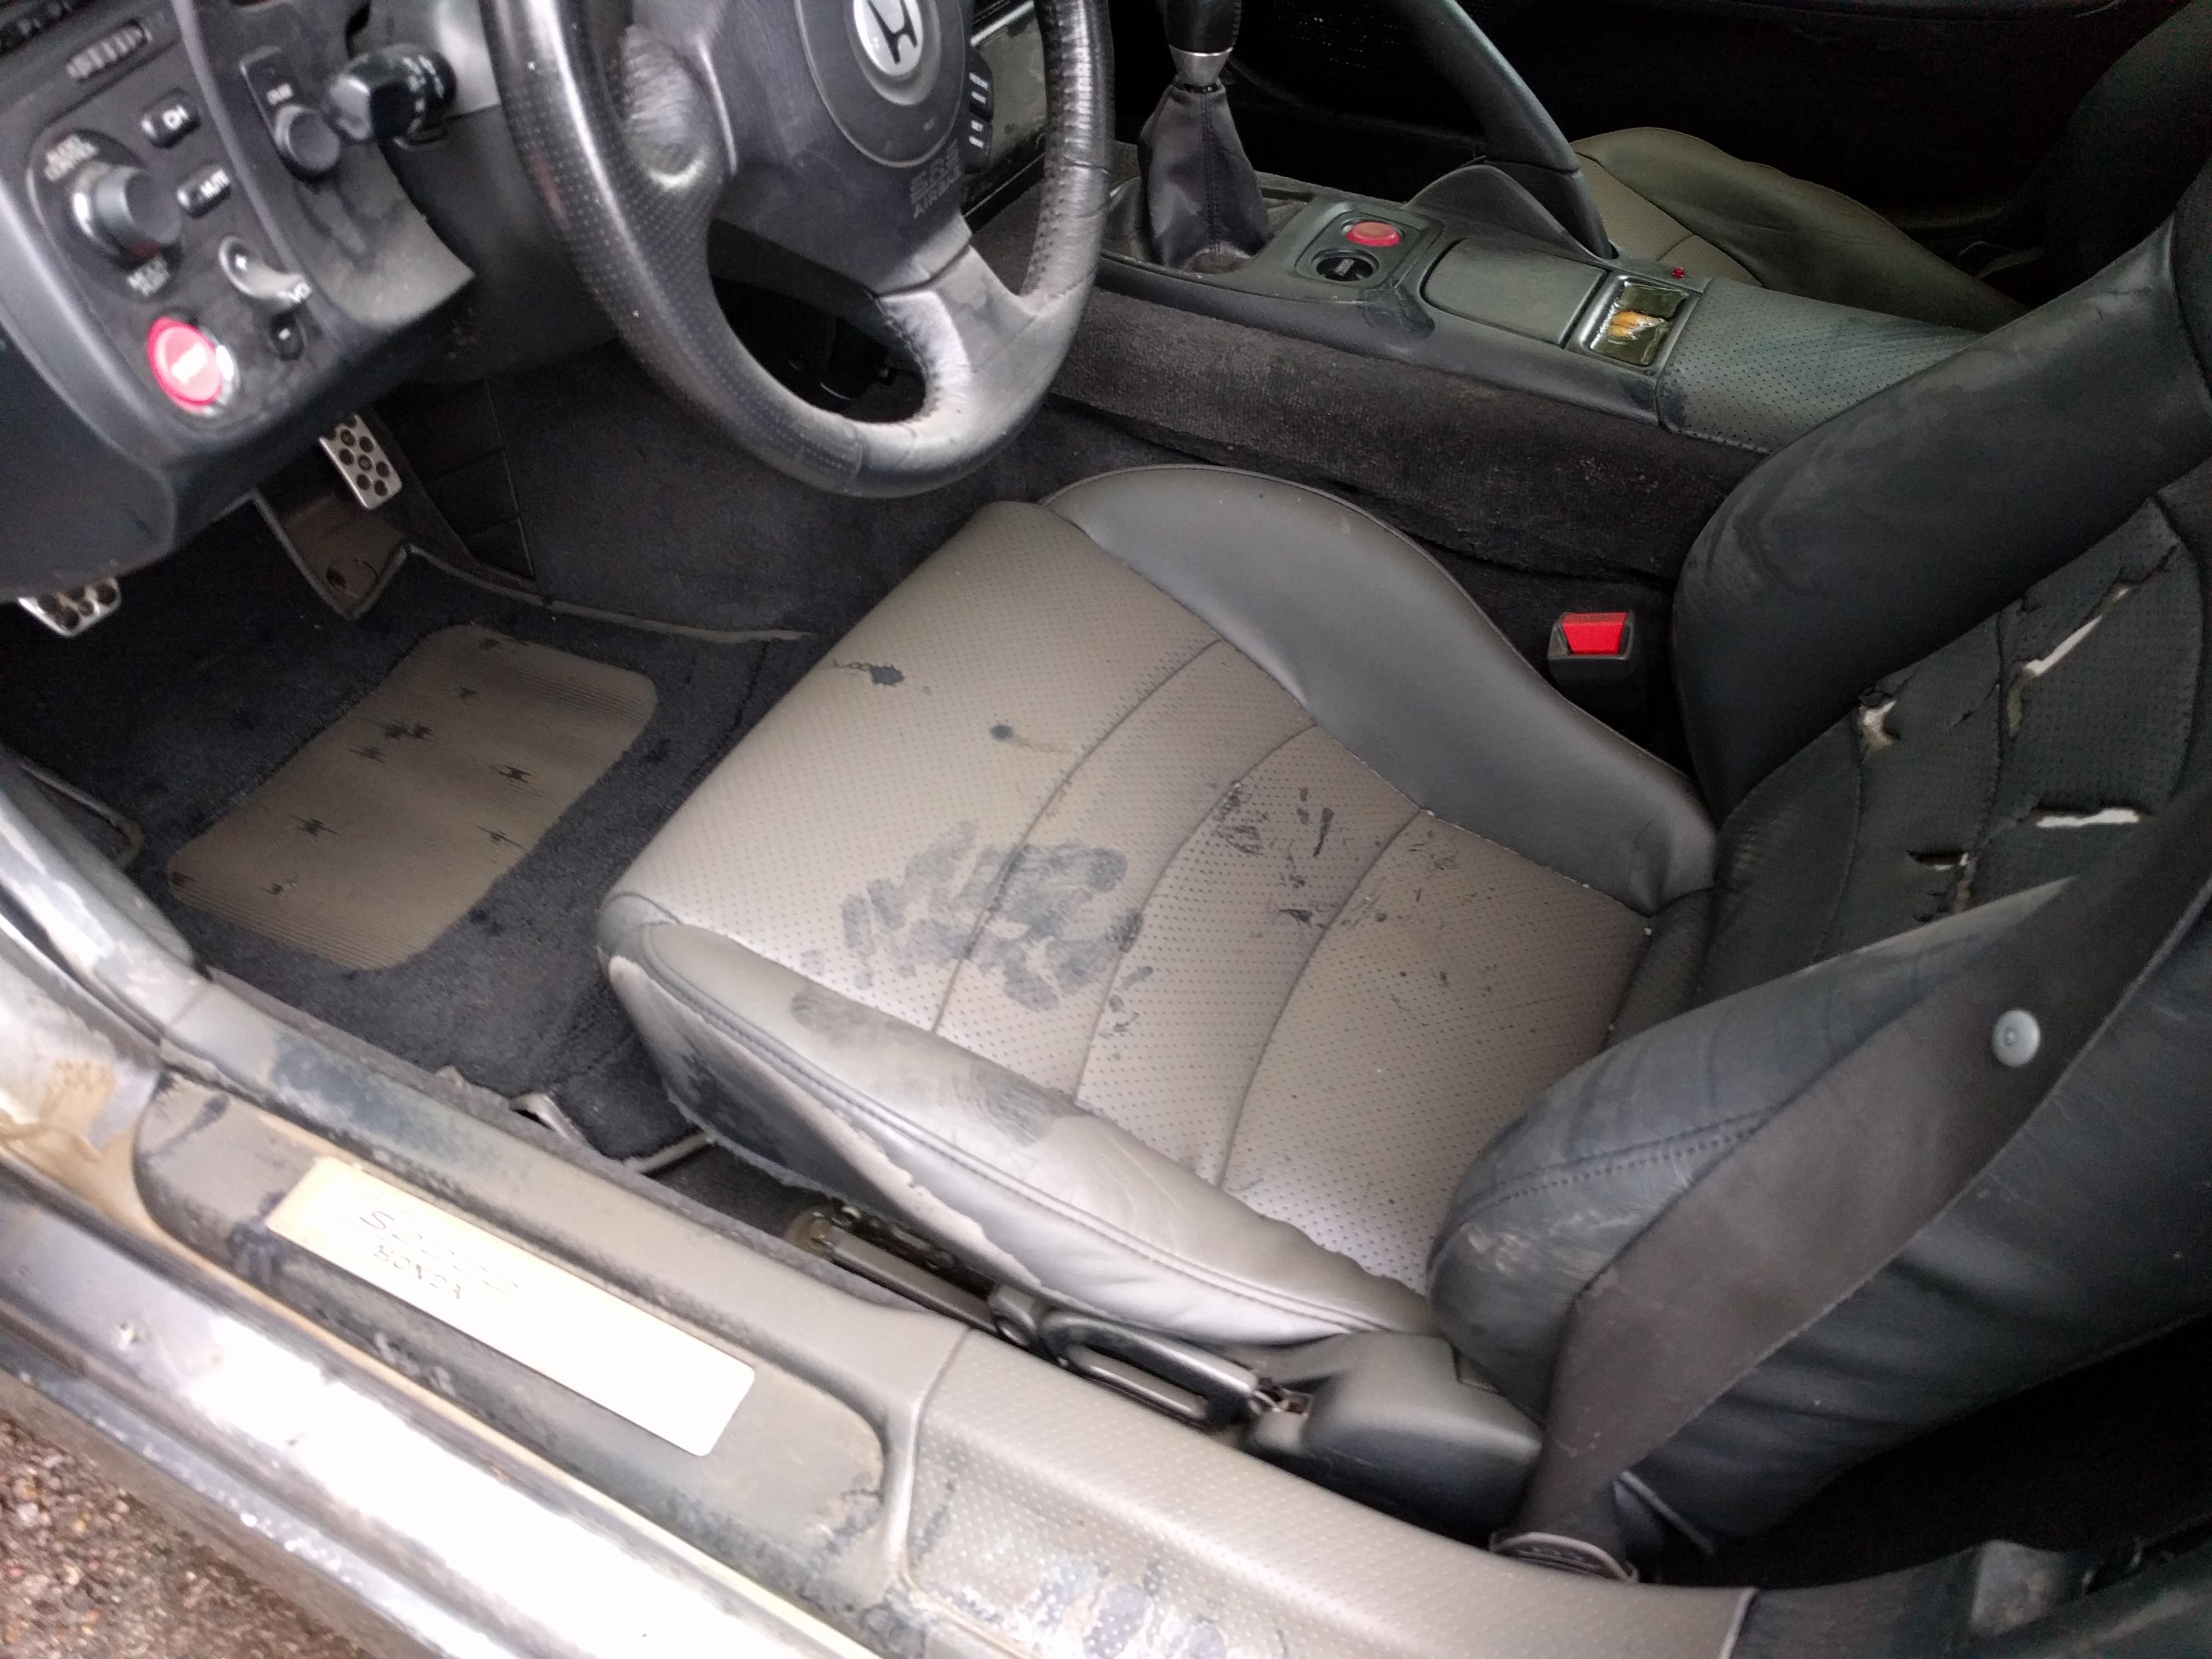
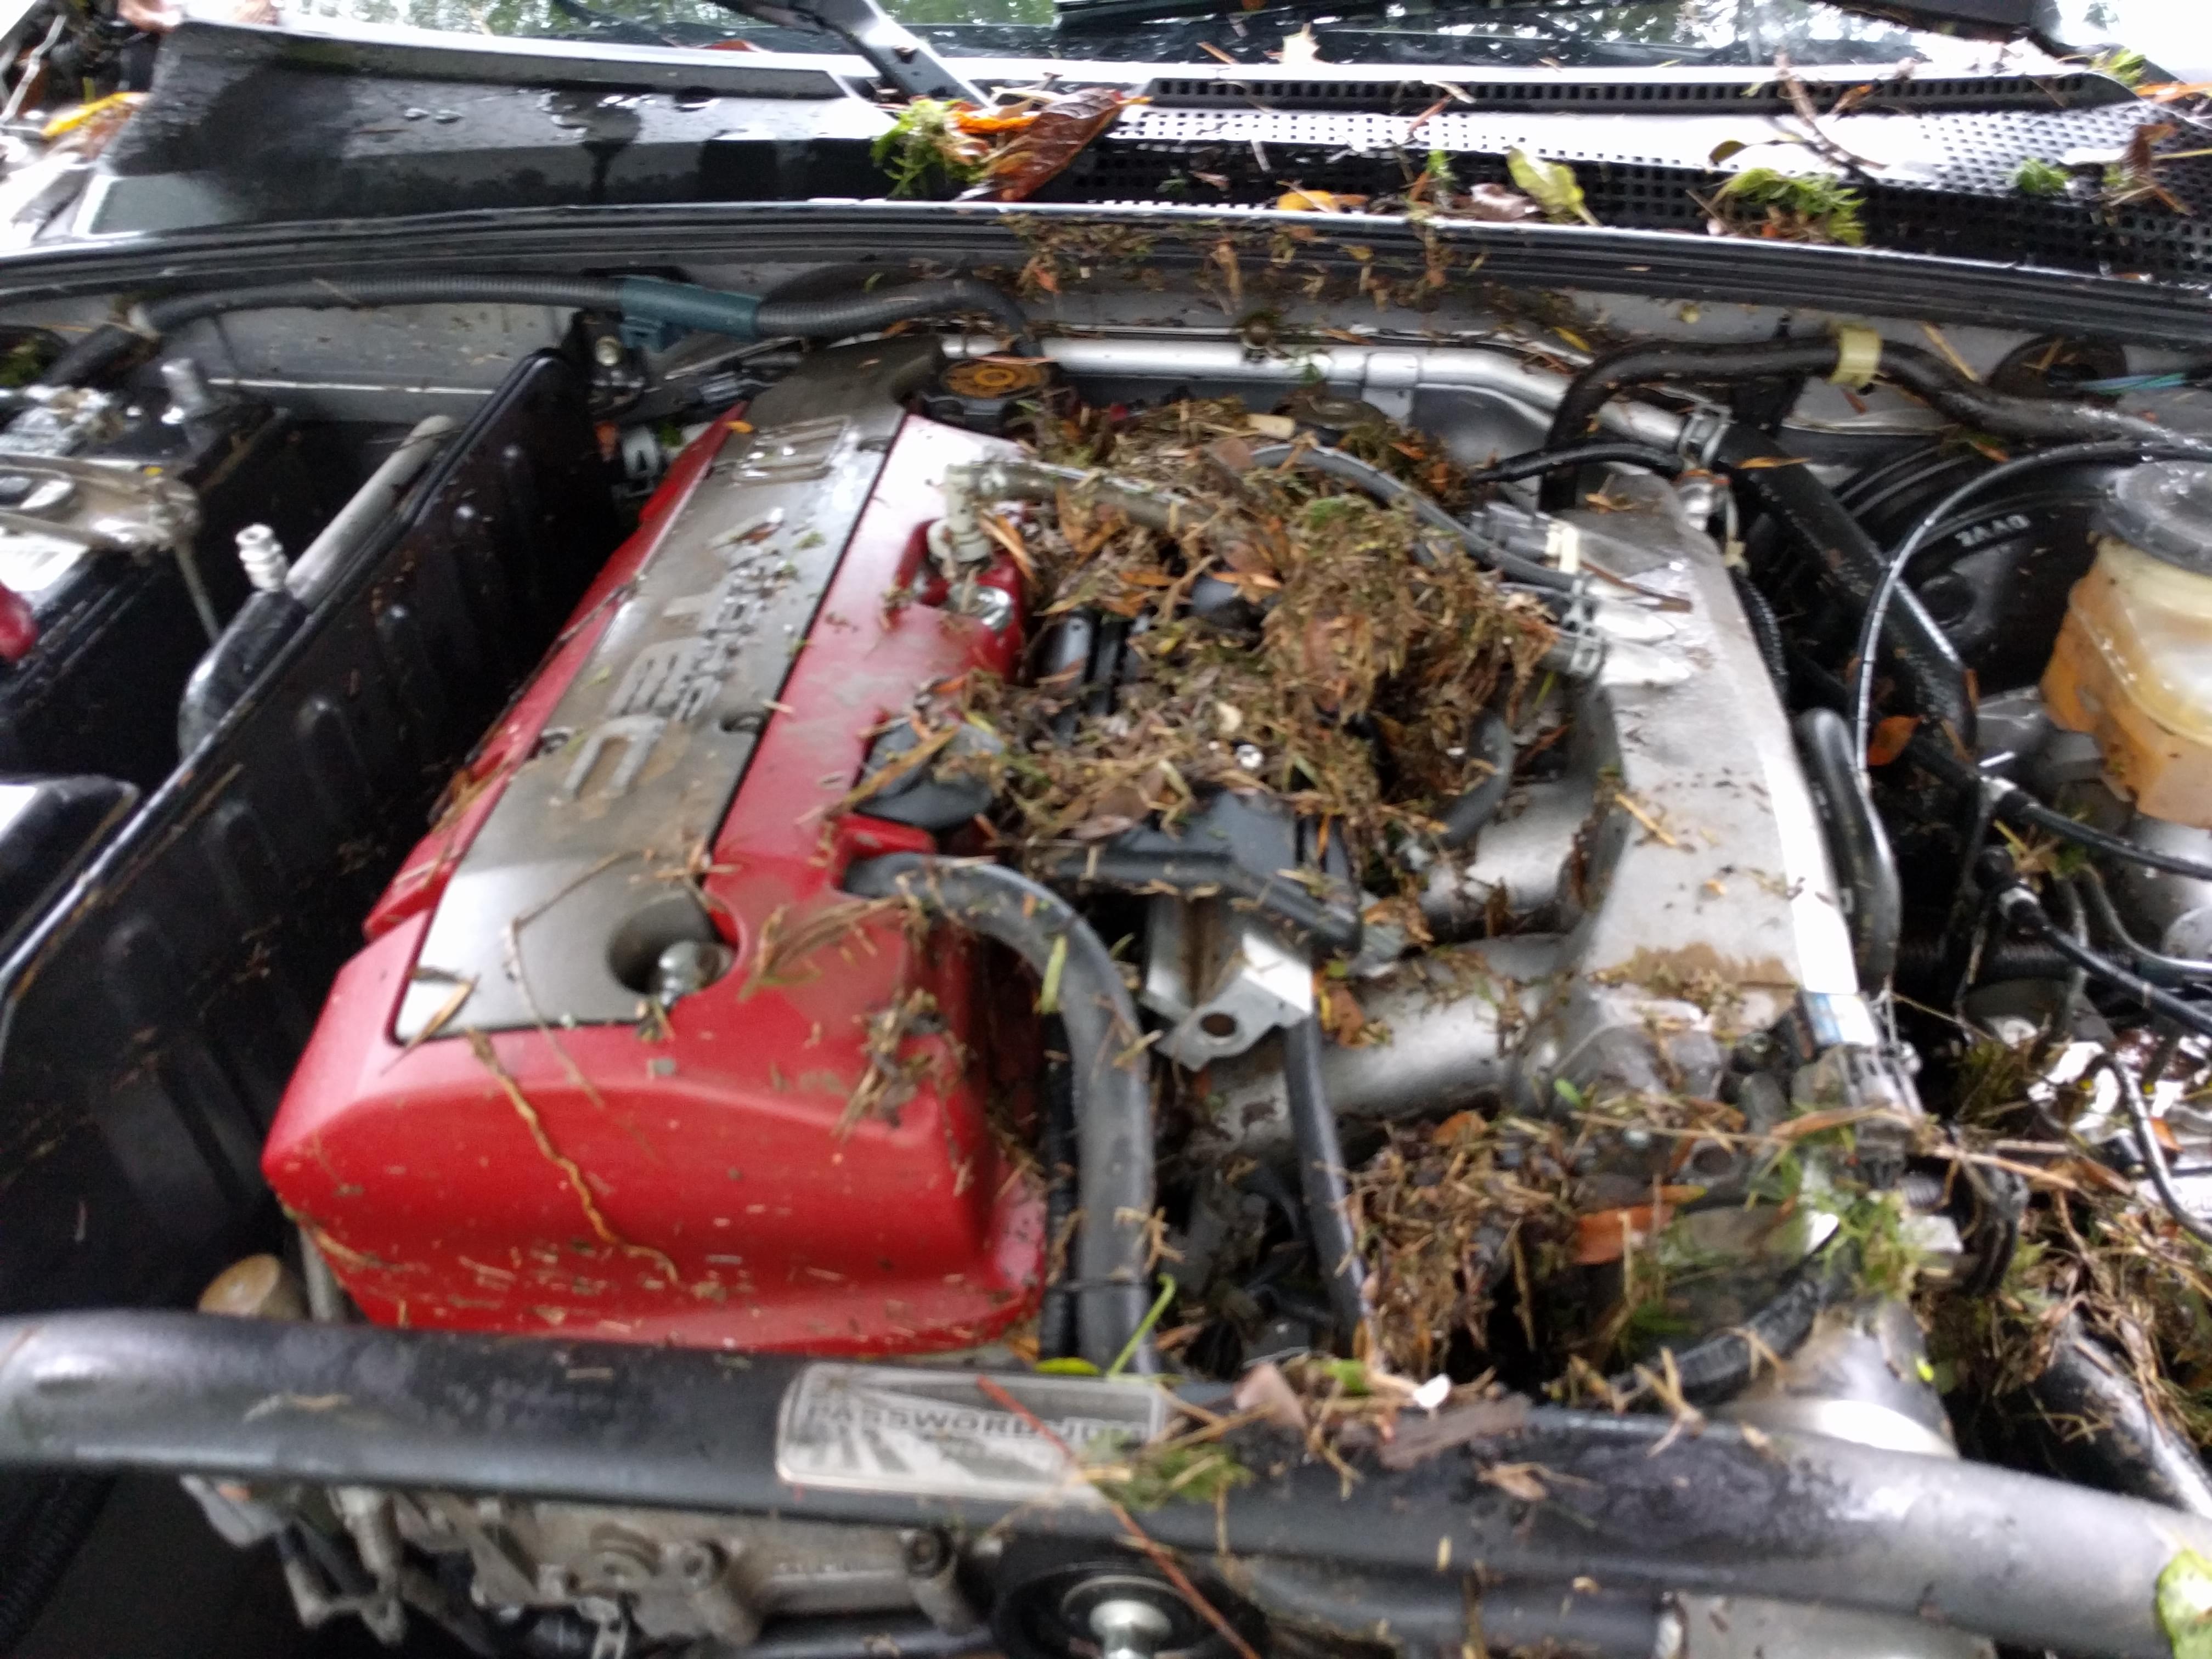
A few weeks ago, the unthinkable happened. I moved to Austin shortly after my last update to this post in February, and the apartment complex I now live in flooded. My S2000 was almost completely underwater, and now looks like this:
It’s been a good run, but I can’t deal with replacing the electrics right now so I’ve sold the old girl to a mechanic who wants to build a race car in the hopes that he’ll be able to get a little more life out of her.
However, it’s not all bad news; I’ve now got a new S2000 (same color, and I kept most of the mods from my old one) and will be starting a new build blog soon! Check the main page periodically for updates…
Farewell, Lyra.
